


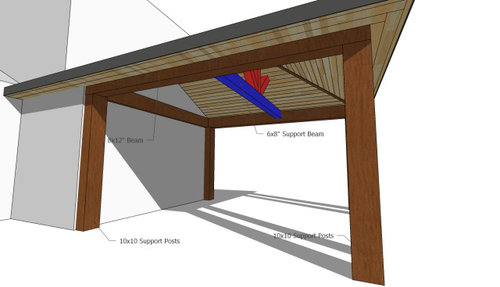
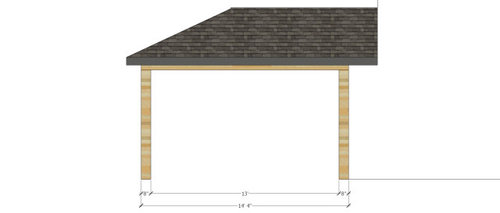
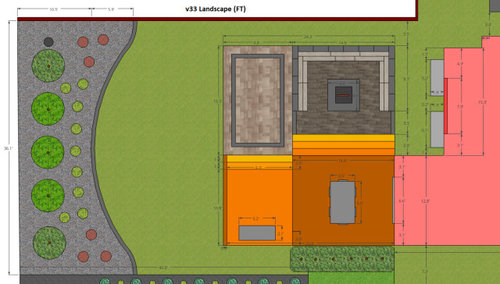
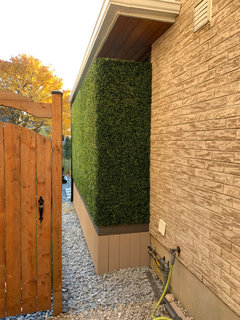
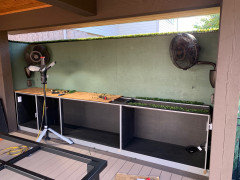
Covered Deck / Roof Structure -- Ceiling or Wall Fan Options?
Bryan
2 years ago


Featured Answer
Sort by:Oldest
Comments (15)
 PRO
PROHALLETT & Co.
2 years ago
opaone
2 years agoRelated Professionals
Glen Ellyn Landscape Architects & Landscape Designers · Middle River Landscape Architects & Landscape Designers · Barrington Landscape Contractors · Fishers Landscape Contractors · Mesa Landscape Contractors · Chesapeake Ranch Estates Stone, Pavers & Concrete · Placerville Swimming Pool Builders · Franconia Decks, Patios & Outdoor Enclosures · Raleigh Flooring Contractors · Saint Louis Park Flooring Contractors · Guilford Siding & Exteriors · Lexington Architects & Building Designers · Hillsborough General Contractors · Olney General Contractors · Tyler General Contractors
Bryan
2 years ago- PRO
HALLETT & Co.
2 years ago 
k t
13 days agoBryan
13 days agok t
12 days agok t
12 days agoBryan
12 days agoBryan
12 days agok t
12 days agoBryan
11 days agok t
3 days agoBryan
3 days ago


Related Stories
OUTDOOR ACCESSORIESCool Down With These Stylish Ideas for Outdoor Ceiling Fans
See how this outdoor accessory can work with a variety of porch and patio styles
Full Story
DECORATING GUIDESHow to Choose a Ceiling Fan for Comfort and Style
Houzz pros share what fan size to buy, what blade angle to look for and which type works with your ceiling height
Full Story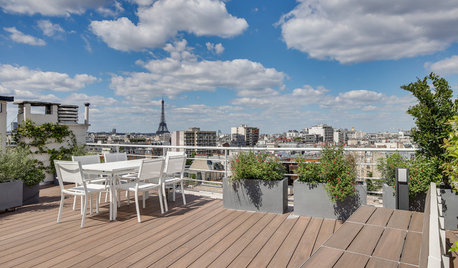
APARTMENTSHouzz Tour: Roof Deck Enjoys an Eiffel Tower View
An architect revamps a small Paris apartment to make space for outdoor living
Full Story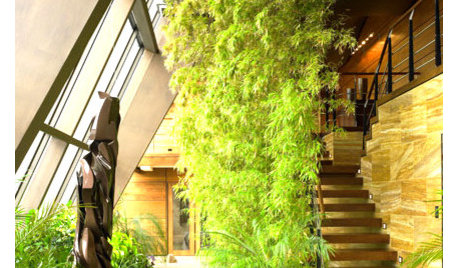
REMODELING GUIDESGive Me a Wall, a Roof, or a House of Glass
Swoon over spaces warmed by sunlight — from one side, or many
Full Story
REMODELING GUIDES11 Reasons to Love Wall-to-Wall Carpeting Again
Is it time to kick the hard stuff? Your feet, wallet and downstairs neighbors may be nodding
Full Story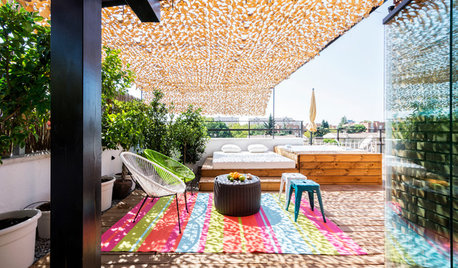
DECKSTrending: 10 Awesome New Outdoor Ceilings Popular in Summer 2018
See the innovative covered decks, patios and porches that have been getting the most saves. Which is your favorite?
Full Story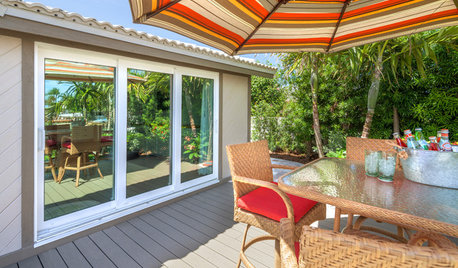
PATIOS6 Patio Cover Types to Shade You in Style
Protect yourself and your deck from the blazing sun with umbrellas, cloth, built structures — or nature's perfect shading solution
Full Story
GARDENING AND LANDSCAPINGGreat Cover-Ups: 8 Outdoor Canopies and Shades
Lounge as long as you like without getting baked, with one of these sun-screening structures for your backyard, deck or patio
Full Story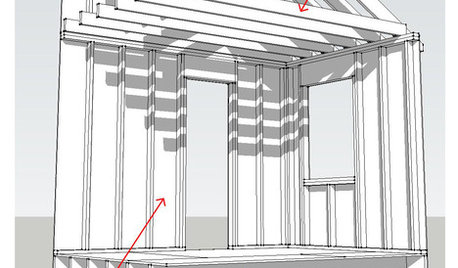
KNOW YOUR HOUSEKnow Your House: Components of a Roof
Don't get held up by confusion over trusses, rafters and purlins. Learn about a roof's features and their purposes here
Full StoryGARDENING AND LANDSCAPING10 Creative Ways to Bring Structure to Your Outdoor Room
Get a sense of protection and coziness with living walls, pergolas, planters and more
Full StoryMore Discussions


BryanOriginal Author