


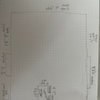
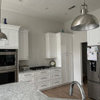
help with kitchen remodel layout
brittany bolduc
15 days ago

Sort by:Oldest
Comments (13)
Related Stories
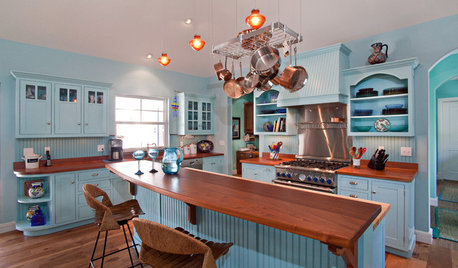
KITCHEN DESIGNHere's Help for Your Next Appliance Shopping Trip
It may be time to think about your appliances in a new way. These guides can help you set up your kitchen for how you like to cook
Full Story
MOST POPULAR7 Ways to Design Your Kitchen to Help You Lose Weight
In his new book, Slim by Design, eating-behavior expert Brian Wansink shows us how to get our kitchens working better
Full Story
BATHROOM WORKBOOKStandard Fixture Dimensions and Measurements for a Primary Bath
Create a luxe bathroom that functions well with these key measurements and layout tips
Full Story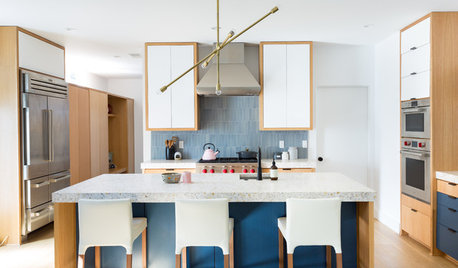
STANDARD MEASUREMENTSKey Measurements to Help You Design Your Home
Architect Steven Randel has taken the measure of each room of the house and its contents. You’ll find everything here
Full Story
KITCHEN DESIGNDetermine the Right Appliance Layout for Your Kitchen
Kitchen work triangle got you running around in circles? Boiling over about where to put the range? This guide is for you
Full Story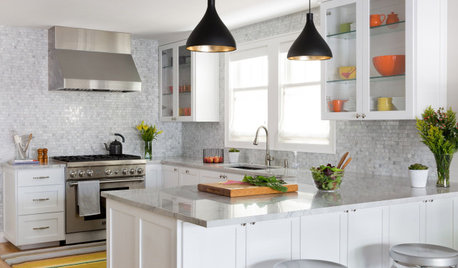
KITCHEN DESIGNKey Measurements to Help You Design Your Kitchen
Get the ideal kitchen setup by understanding spatial relationships, building dimensions and work zones
Full Story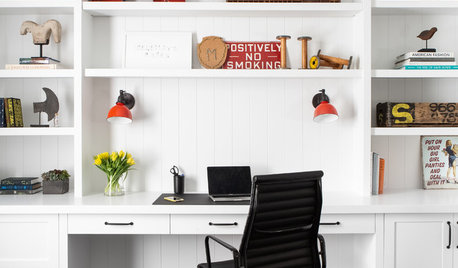
REMODELING GUIDESKey Measurements to Help You Design the Perfect Home Office
Fit all your work surfaces, equipment and storage with comfortable clearances by keeping these dimensions in mind
Full Story
ARCHITECTUREHouse-Hunting Help: If You Could Pick Your Home Style ...
Love an open layout? Steer clear of Victorians. Hate stairs? Sidle up to a ranch. Whatever home you're looking for, this guide can help
Full Story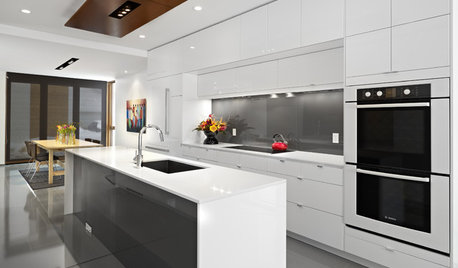
KITCHEN APPLIANCESFind the Right Oven Arrangement for Your Kitchen
Have all the options for ovens, with or without cooktops and drawers, left you steamed? This guide will help you simmer down
Full Story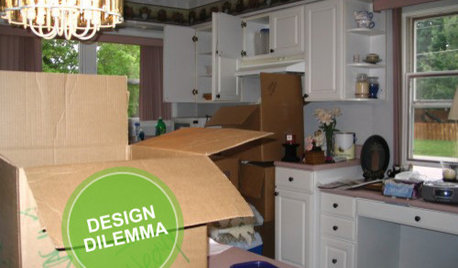
KITCHEN DESIGNDesign Dilemma: My Kitchen Needs Help!
See how you can update a kitchen with new countertops, light fixtures, paint and hardware
Full StorySponsored
Columbus Area's Luxury Design Build Firm | 17x Best of Houzz Winner!
More Discussions


dan1888
herbflavor
Related Professionals
Hammond Kitchen & Bathroom Designers · Ramsey Kitchen & Bathroom Designers · Ashwaubenon Interior Designers & Decorators · Tyler General Contractors · Austintown General Contractors · Euclid Kitchen & Bathroom Designers · Annandale Furniture & Accessories · Sioux Falls Furniture & Accessories · Florida City General Contractors · Maple Heights General Contractors · Bonita Kitchen & Bathroom Designers · Ridgefield Park Kitchen & Bathroom Remodelers · Kentwood Cabinets & Cabinetry · Elmwood Park Tile and Stone Contractors · Soledad Tile and Stone ContractorsRappArchitecture
brittany bolducOriginal Author
Buehl
Buehl
brittany bolducOriginal Author
brittany bolducOriginal Author
dan1888
Buehl
Buehl
herbflavor
artistsharonva